Quick start guide for
Trimble Connect
Three platforms
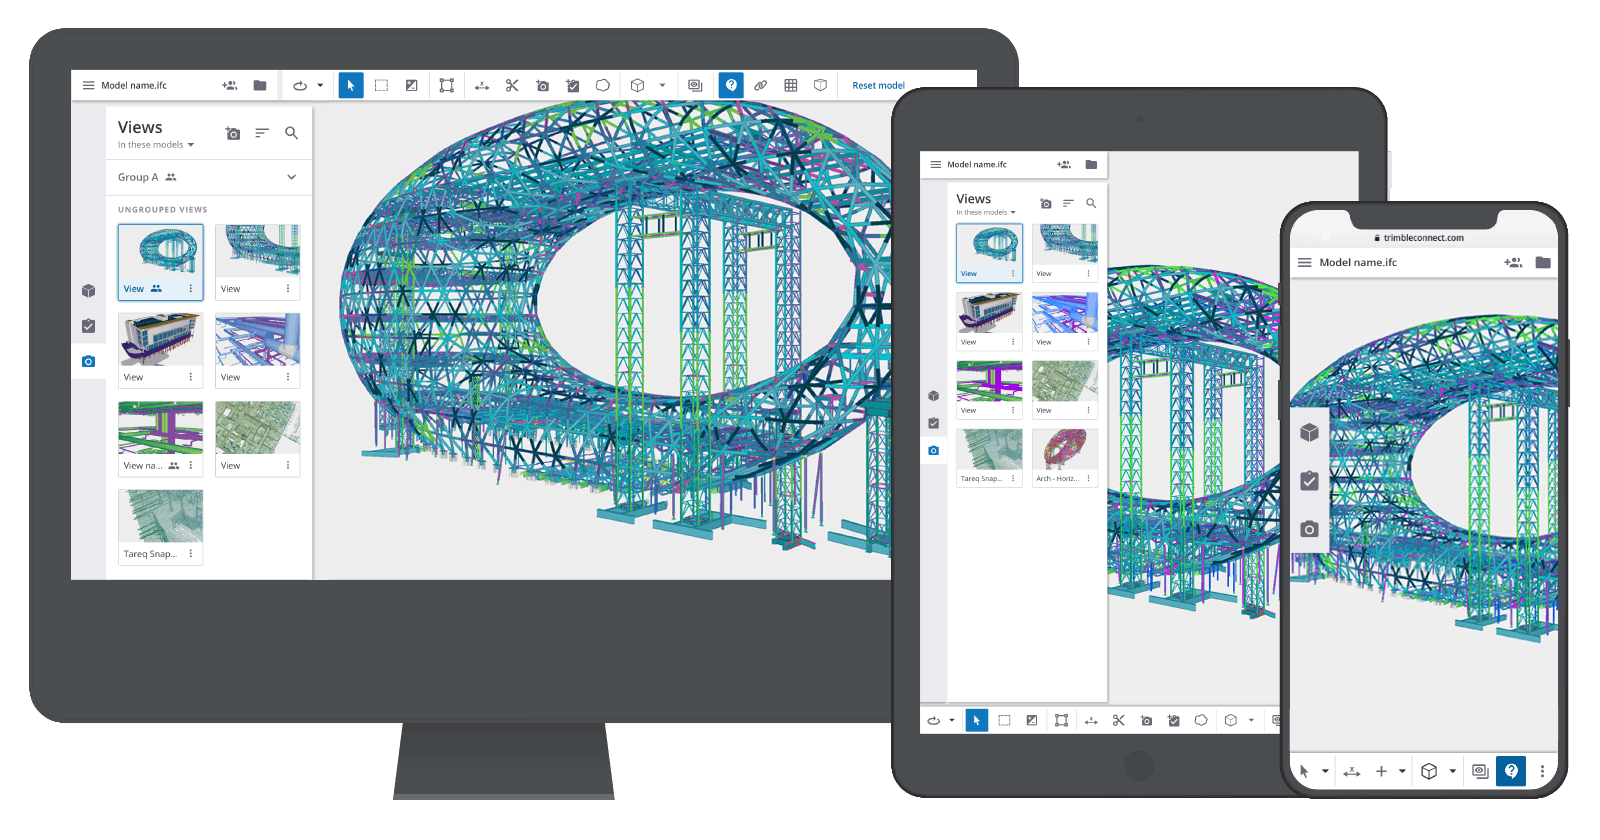
The three different platforms of Trimble Connect will all offer the Trimble Connect experience, and at the same time each platform has their advantage. Below are the three platforms and their main advantages:
Mobile:
View
View models and check information anywhere
Download on your mobile device via iOS App Store or Google Play Store
Desktop:
Work tool
Work with model visualization - Sort and color model objects. Manage and create views.
Download via Trimble Connect Store
Web:
Administrative
Manage project members. View project activity. Search and manage project files - Advanced information take-off.
Log in online on the Trimble Connect Web Application
Training
We offer two options!
E-LEARNING:
Trimble Connect
Advanced Workflow Extensions
19 video lessons and exercises to prepare BIM coordinators, project managers and others to use advanced tools and define workflows within Trimble Connect!
Webinars!
Getting started with Trimble Connect
Advanced use of Trimble Connect in production
Available in Norwegian and English!
Assigning licenses
(administrators only!)
To assign licenses you will have to be a Admin on you company’s page at www.tekla.com from your profile you can go to “My organization” and click “Access Admin”. Here you will be able to assign licenses be checking of the different boxes.
Logging in
Depending on which version of Trimble Connect you are using, you will either look for the following icon on you phone/pad or this icon on your desktop. In the web browser you go to https://connect.trimble.com and click sign in.
The login screen will appear, and will look something like this on every version:
From this point onward we will focus on the web version of Trimble Connect, but at some points we will refer to the other version.
In the top left corner on the webpage under project you can select a region, this indicates where the server you save your projects to are located.
Getting Started with Trimble Connect
Log into the Web Application. Before you can use Trimble Connect, a project must be created.
Log into https://web.connect.trimble.com/ and click the new-button. The created project will automatically appear on all platforms.
Explore the Web Application Project Menu. Some features may only be found here.
Data – Contains the project contents
Explorer–Containsallfilesandfolders
Views–Containsallviewsthatarecreatedintheproject. (A view is a snapshot of a 3D model)
Releases–Containsallreleasesintheproject. (A release is a group of files marked ready for release.)
Activity – All activity from project members are logged in the activity log
ToDo – Here tasks and issues can be managed, created and logged.
Team – Here the project members are managed.
Settings – The project settings and advanced settings can be found here.
Creating and opening projects
When loging in to Trimble Connect you can either open an existing one or create a new.
To create a new project
On the Main screen, click the New tab:
In the Name field, give your Project a name. Avoid using special characters in the name.
In the Image field, select a fitting image, this can be changed at a later date.
In the Project Server field, select a location for the server the project will be saved to.
In the Subscription field, select which license the project should use.
Under More options you can add a description, start date, and end date.
Click Submit.
An empty project is created where you can add folders, new users and files of your choosing.
Opening an existing project
On all the different platforms you will get a list of projects that you have access to on the selected server location. Select the project and it will open and give you access to the files within.
Understanding the user interface
When you open a 3D-model it will look like this:
The File menu
The File menu contains all the main functions relating to the management of settings for the project, signing out, access to all other project and information about updates to Trimble Connect.
Click the File menu button (“burger”-symbol) to display the file options.
Some of the file menu items have associated sub-menus.
Main icons list
The table below is a reference for the main icons that appear in Tekla Structures.
Using the mouse
We recommend that you use a 3-button mouse when using Tekla Structures.
Left button
Used for clicking menus and commands, camera control and selecting elements.
Middle Button / Scroll wheel
Scroll for zoom, click and drag for panning.
Right Button
In web click and drag changing angle, with a selected object, shows a menu on desktop.
Download the Trimble Connect Desktop Application
The Desktop application have some unique features that are good to use when working with 3D models. Via the Web application enter the Trimble Connect Store and download and install Trimble Connect for Desktop.
Basic use in Trimble Connect for Desktop
Add files by drag-and-drop into Explorer, or by using the +buttons.
View 3D models or files by first selecting the file in Explorer, and then use the View -button
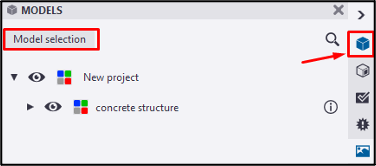
View multiple 3D models at the same time, first open a single model, then open Model Selection.
In Model Selectionyou can add other models to the current view by checking the check boxes for the models you would like to add.
Basic use in Trimble Connect Web
Add files or models by drag-and-drop into Data > Explorer, or by using the -button.
View 3D models by selecting 3D models in Explorer and press “View in 3D Viewer” .
View multiple 3D models by selecting several 3D models before pressing View in 3D viewer.
NOTE:
When adding files directly in the Web application, Trimble Connect will spend some minutes processing the files.
Use Trimble Connect for Desktop in order to upload and view models instantaniously.
More Help and Documentation
Please use Trimble Connect Forum to view documentations and smart tips. Choose category Getting Startet or Knowledge Base, and filter by Documents.


