Trimble Connect AR Tutorials
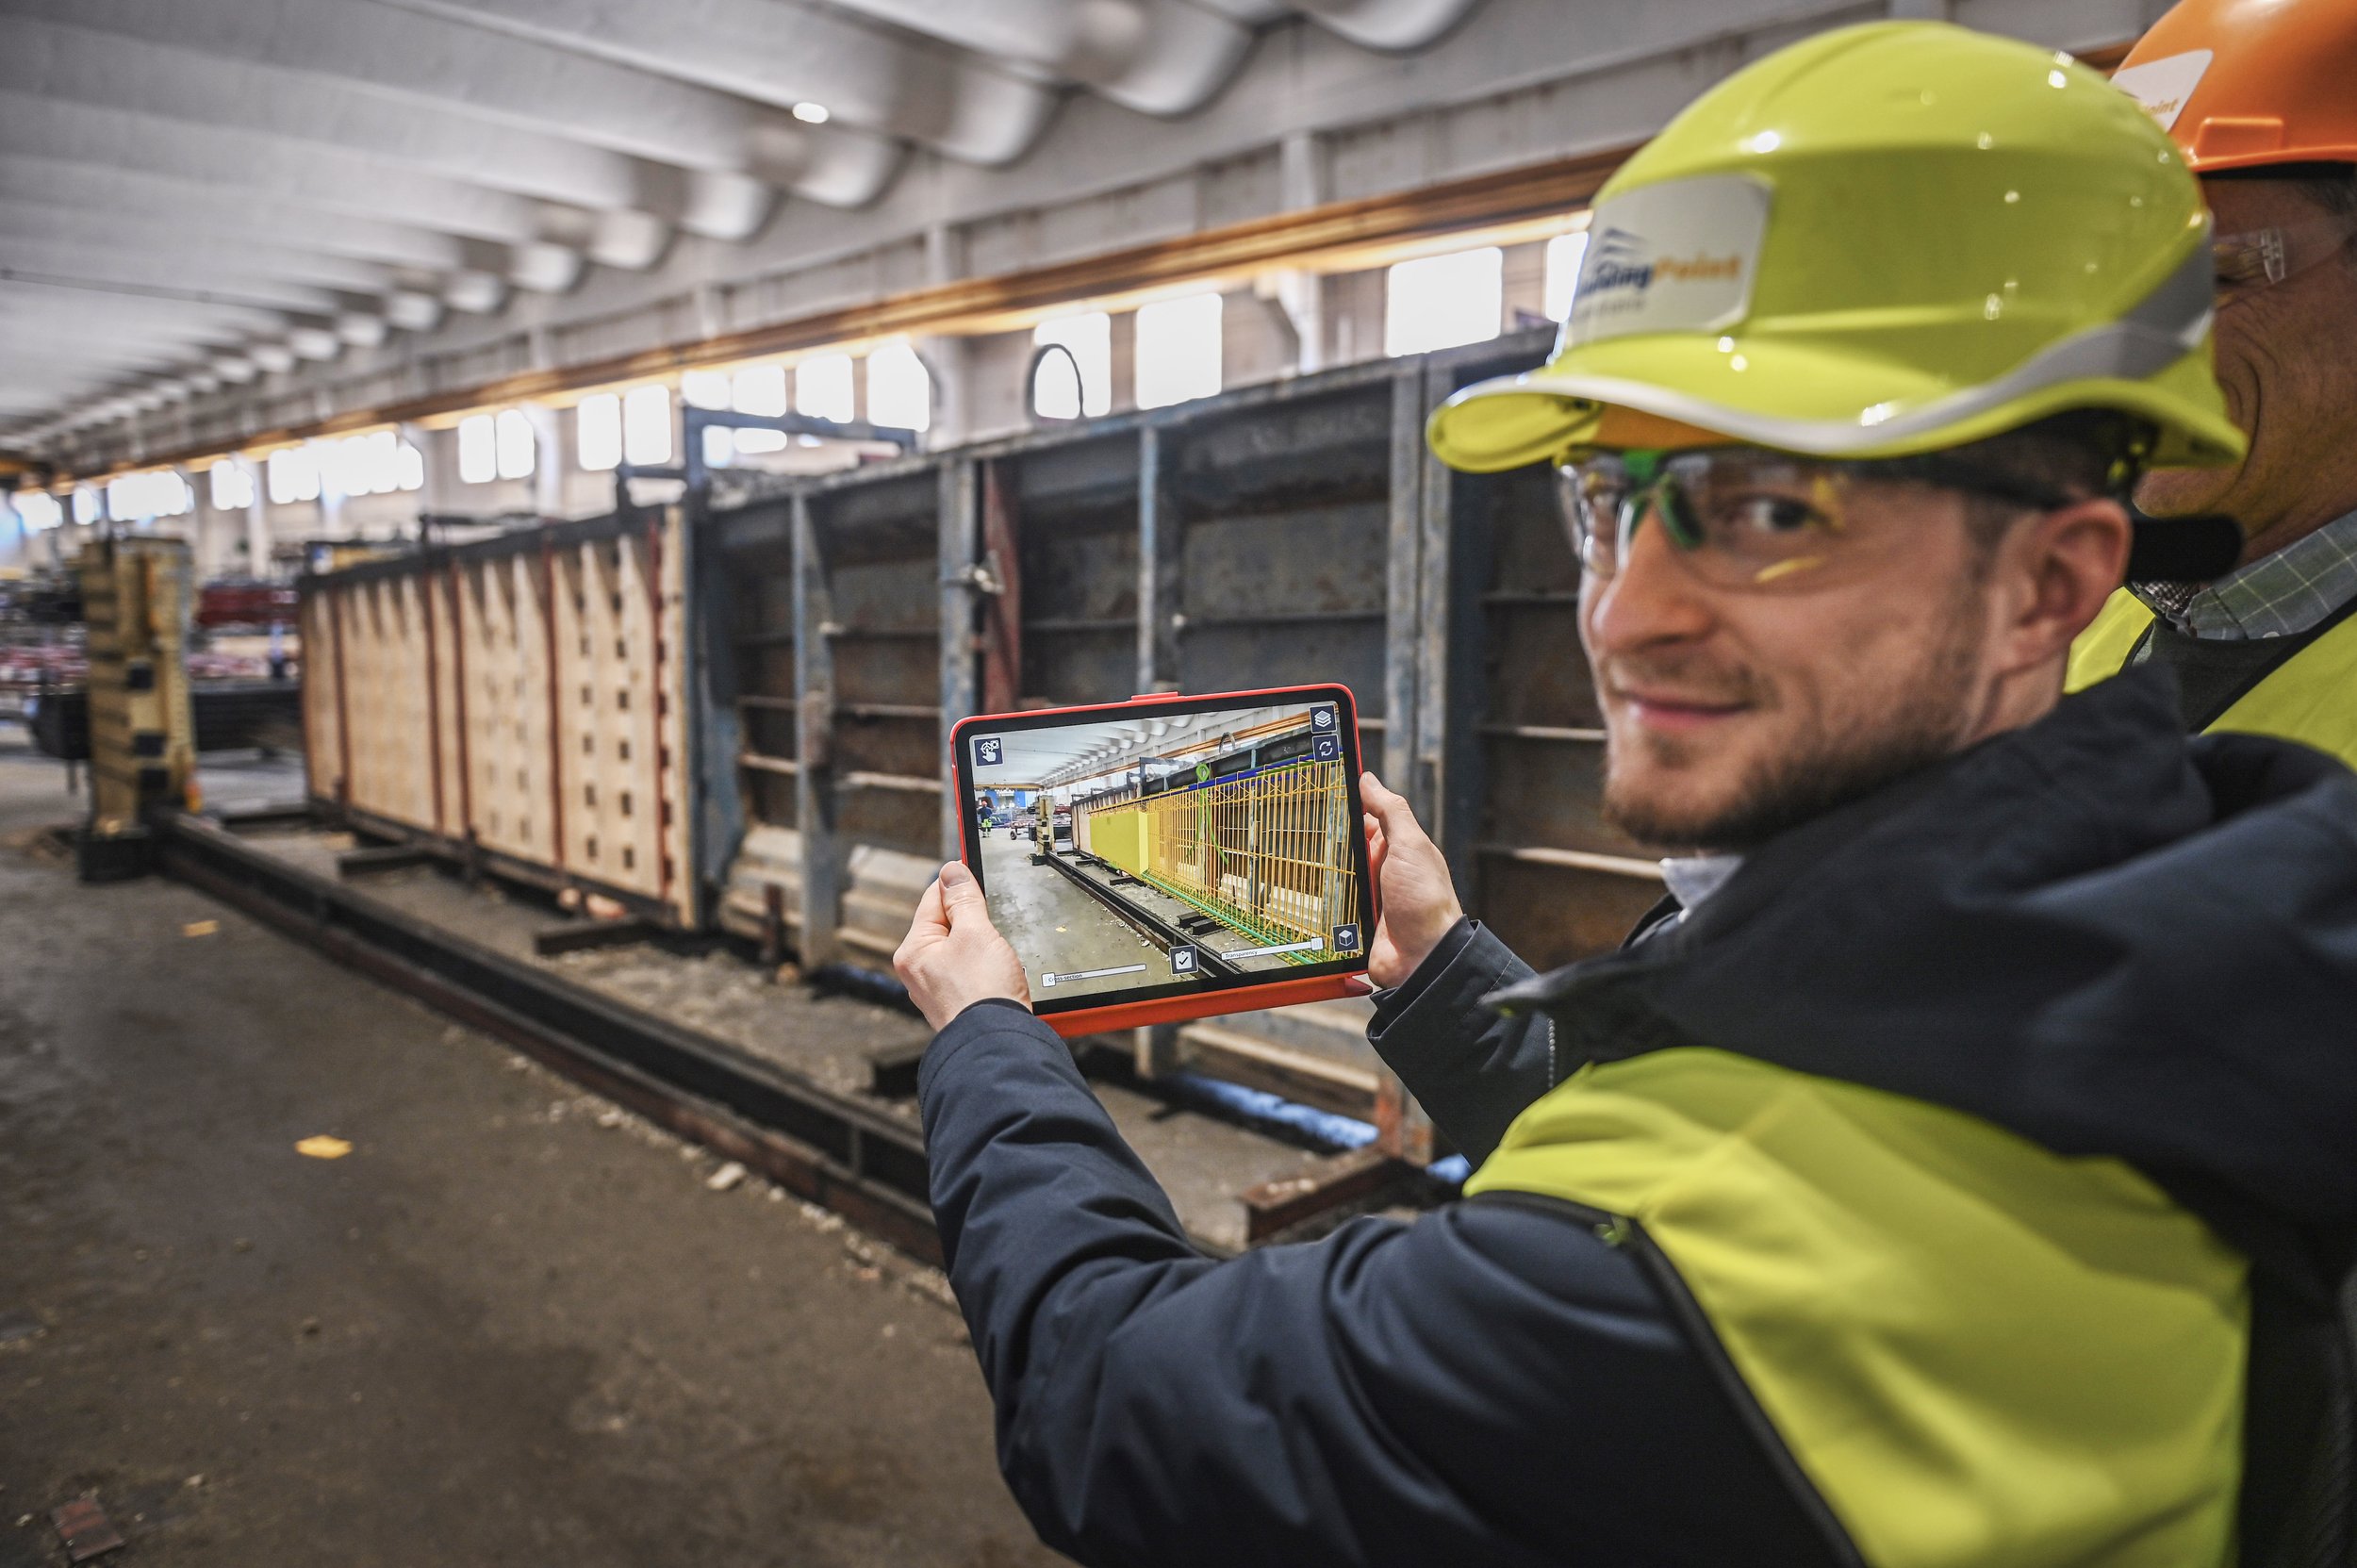
Trimble Connect AR is easy to use, but by checking out these tutorial videos it’s even easier! This tutorial series will great tips on how to use the Trimble Connect AR mobile app to view your BIM data on your jobsite in augmented reality.
What will you learn?
In the 5 tutorial videos you will learn how to get started with Trimble Connect, the basics of the Trimble Connect AR mobile app, how to visualize your BIM data in the field and how to use Markers as well as some best practice tips!
More help?
Also take a look at our popular “Take Control of Trimble Connect” 2 hours free training course
Consider Trimble Connect Services for your project and organization!
Check out the manual!
Watch our 30 minutes webinar about Trimble Connect AR.
The Tutorials
Lesson 1
How to get started with Trimble Connect:
Signing up
Starting a project
Uploading your BIM data ready to view in augmented reality.
Lesson 2
The basics of the Trimble Connect AR mobile app
Signing up
Configuration options
Loading your BIM data to view in augmented reality.
Lesson 3
How to visualize your BIM data in the field with the Trimble Connect AR mobile app
Placing the model on site
Cross sections, transparency, layers, and other visualization tools available to enhance your augmented reality experience.
Lesson 4
Establishing a Marker network on your jobsite makes augmented reality simple and accessible to anybody.
Learn how to:
Install the Marker extension for Trimble Connect
Create Markers in the digital model
Print out and install Markers on site.
Following this tutorial, you are going to need this title and these links which you will paste into the Settings in Trimble Connect:
Title: QR Markers
Plugin/Application URL: //trimble-connect-marker-authoring.trimble.com/
Icon URL: //trimble-connect-marker-authoring.trimble.com/markerextension.png
Lesson 5
How to use Markers with the Trimble Connect AR mobile app:
Installing Markers in the field
Using Markers to automatically align your model
Best practice tips.
BONUS TUTORIAL:
Marker Extension v1.4.0 update
This video will cover the new features in v1.4.0 of the Connect AR+MR Marker Extension:
Specify global coordinates to reference existing control
Add a reference point for easy setout with a tape measure
You can find all tutorials in this Playlist on YouTube!
OTHER ARTICLES
UPCOMING EVENTS and WEBINARS


